No More Mushy Beans! Secrets for Perfect Crispy Oven Roasted Green Beans
Are you tired of serving soggy, uninspired green beans as a side dish? Do you dream of perfectly tender-crisp, flavorful oven baked green beans with a delightful snap and a hint of caramelized goodness? You’re in the right place! Achieving truly crispy oven roasted green beans isn't a kitchen myth; it's an achievable reality with a few simple secrets. Forget bland, forget boiled – we're about to unlock the full potential of this humble vegetable, transforming it into a show-stopping side that's as easy to prepare as it is delicious. Whether you're planning a quick weeknight dinner or an elaborate holiday meal, these tips will ensure your green beans are always a highlight.The Foundation of Flavor: Why Fresh is Best for Crispy Green Beans
The journey to impeccable roasted green beans begins long before they hit the oven. The quality of your ingredients and initial preparation are paramount.Choosing Your Green Beans
For truly crispy results, fresh green beans are non-negotiable. While frozen green beans might seem like a convenient shortcut, their high moisture content makes them prone to becoming mushy and limp when roasted. If you absolutely must use frozen, they require significant thawing and patting dry, often leading to a compromise in texture. Look for vibrant, firm, bright green beans that snap easily when bent. Avoid any with brown spots, soft areas, or a dull appearance.
The Critical Step: Washing and Drying
This is arguably the most crucial step for preventing mushy green beans. After rinsing your fresh green beans under cool water, you absolutely must dry them thoroughly. Excess moisture on the surface of the beans will steam them in the oven rather than allowing them to roast and crisp up. We recommend:
- Spinning them in a salad spinner.
- Spreading them out on a clean kitchen towel or paper towels and gently patting them dry.
- Allowing them to air dry for a few minutes if time permits.
Think of it this way: water on the surface creates steam, and steam prevents crisping. The drier your beans are before roasting, the crispier they will become.
To Snap or Not to Snap? Prepping Your Beans
While often seen as a personal preference, trimming the ends of your green beans (the stem end) is a good practice. Many people prefer to "snap" them off, which can be meditative, or you can use a knife to quickly cut them. This removes the tougher, fibrous end. Some varieties also have a "string" running along the side, which can be removed with a quick pull if desired, especially since these strings can sometimes burn or become unpleasantly chewy in the oven.
The Golden Ratio: Oil, Seasoning, and Roasting Essentials
Once your green beans are perfectly prepped, it's time to dress and roast them. This stage determines their flavor profile and, critically, their texture.The Right Fat for the Job
A good quality fat is essential for crisping and flavor development. Olive oil is the classic choice for roasted green beans, offering a lovely flavor and a high enough smoke point for roasting temperatures. You can also experiment with avocado oil or grapeseed oil, which are neutral in flavor and have even higher smoke points. Don't drown your beans, but ensure they are evenly coated with a light film of oil. This helps them cook evenly, prevents sticking, and promotes that desirable crispy exterior. Generally, 1-2 tablespoons of oil per pound of green beans is a good starting point.
Simple Seasonings, Big Impact
Basic seasonings can elevate your green beans significantly. A generous sprinkle of coarse sea salt and freshly ground black pepper is a must. From there, consider adding:
- Garlic powder: A foundational flavor that enhances almost any savory dish.
- Onion powder: Adds another layer of aromatic depth.
- Paprika (smoked or sweet): For color and a subtle warmth.
- Red pepper flakes: For a touch of heat.
Toss the beans, oil, and seasonings together in a large bowl, ensuring every bean is coated. Don't be shy with the salt; it's key for flavor.
Spreading Out for Success: No Overcrowding!
This is another secret weapon against mushy beans. Overcrowding your baking sheet is a common mistake that leads to steaming instead of roasting. When green beans are piled on top of each other, they release moisture, and that moisture gets trapped, creating a steamy environment. Always use a large baking sheet and spread the green beans in a single layer with a little space between each bean. If you have a large batch, use two baking sheets or roast in batches. Using parchment paper on your baking sheet can also aid in easy cleanup and prevent sticking.
Oven Temperature and Time: The Crisp Factor
High heat is your friend when it comes to achieving crispiness. Preheat your oven to a robust 400-425°F (200-220°C). Placing your seasoned beans on a preheated baking sheet can even give them a head start on searing. Roast for approximately 15-20 minutes, or until the green beans are tender-crisp with some lightly browned, blistered spots. Stirring them halfway through the cooking time will promote even roasting. Keep an eye on them, as oven temperatures can vary.
Beyond Basic: Elevating Your Roasted Green Beans
While a simple salt, pepper, and garlic approach is delicious, there are endless ways to customize your roasted green beans and impress your guests.Zesty Citrus and Herb Infusions
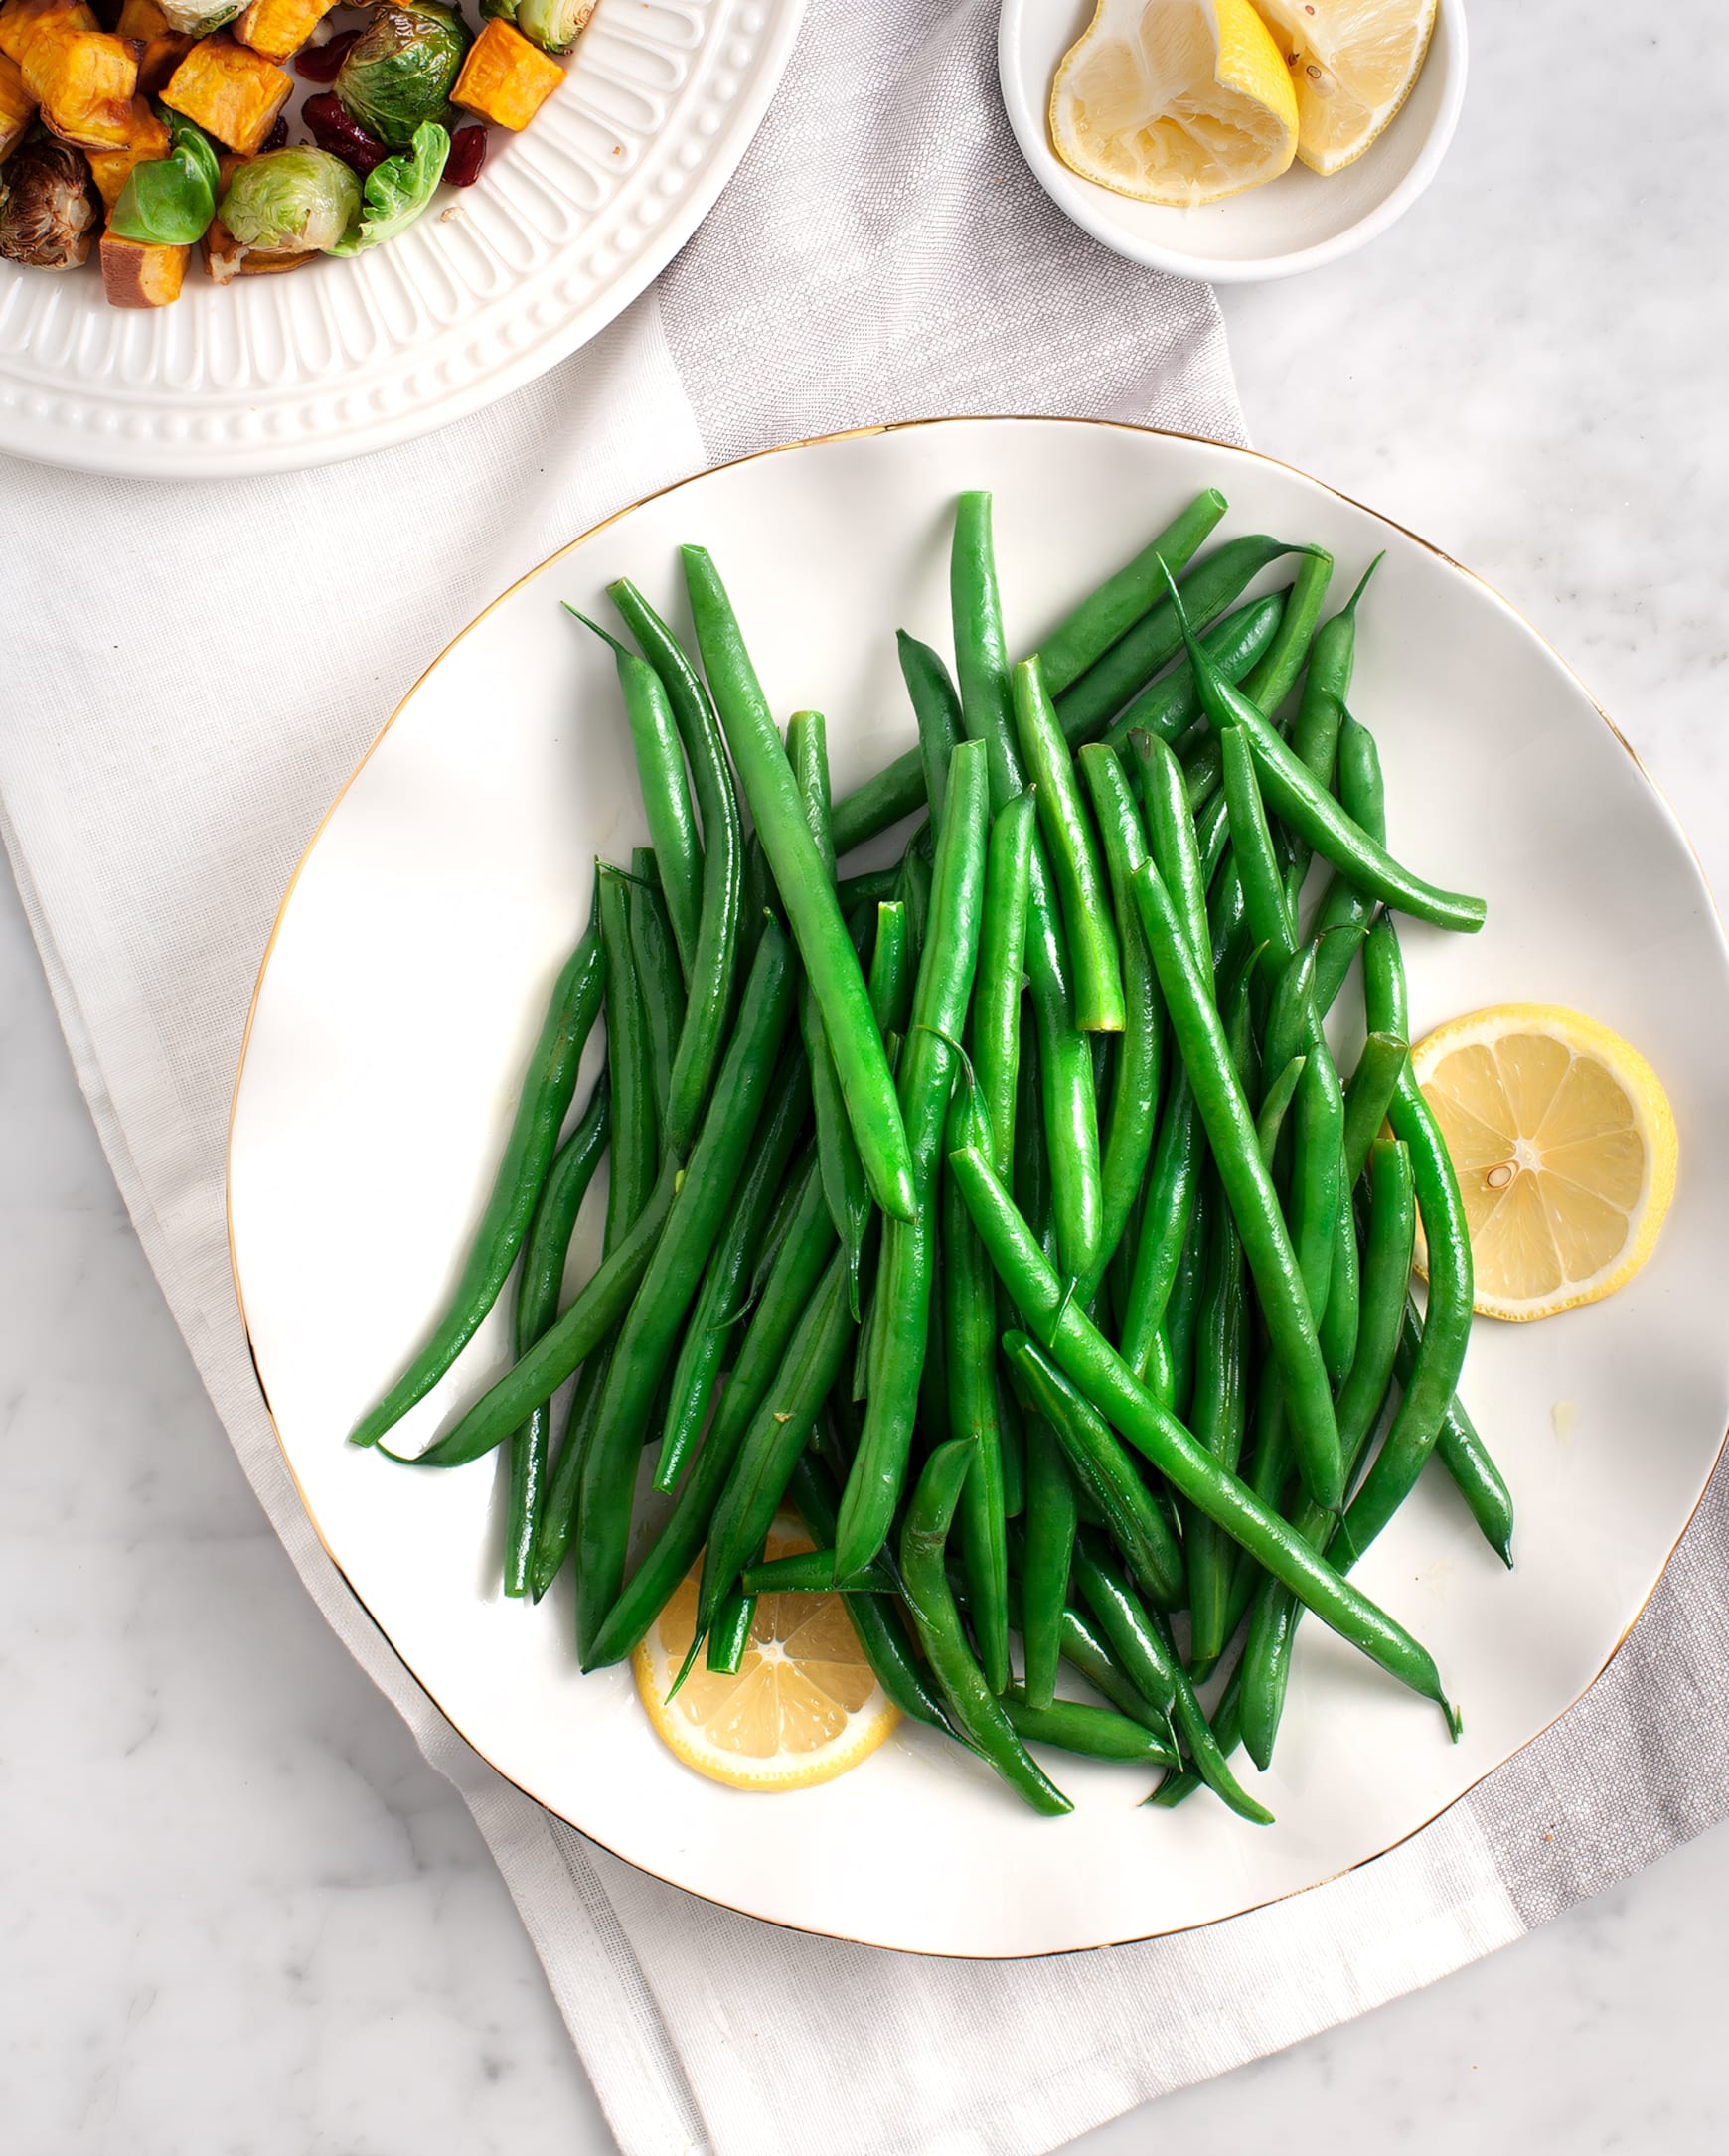
Brighten up your beans with a squeeze of fresh lemon juice after roasting. The acidity cuts through the richness of the oil and enhances the natural flavor of the beans. Fresh herbs like thyme, rosemary, or dill, added in the last few minutes of roasting or sprinkled on top after, provide a fresh aroma and taste. For an incredible flavor combination, consider adding fresh garlic cloves (sliced or minced) to the pan during the last 5-7 minutes of roasting. This brings us to a truly exceptional variation:
For an elevated experience that’s simple yet sophisticated, you absolutely must try the combination of garlic, lemon, and Parmesan. This trio transforms humble roasted green beans with lemon & Parmesan into a dish worthy of any special occasion. A sprinkle of toasted pine nuts at the end adds a delightful crunch and nutty depth that is truly irresistible.
Nutty Additions for Texture and Flavor
Toasted nuts like sliced almonds, pecans, or walnuts add a wonderful textural contrast and rich flavor. Toss them with the green beans for the last 5-10 minutes of roasting, or toast them separately and sprinkle them on top just before serving.
Cheesy Indulgence
Parmesan cheese is a classic for a reason – its salty, umami kick is fantastic. Sprinkle it on during the last few minutes of roasting to allow it to melt slightly, or after, for a fresh cheesy garnish. Other cheeses like crumbled feta or a sharp white cheddar can also work beautifully.
Spicy Kicks and Umami Boosts
Experiment with a dash of chili oil or sriracha for a spicy kick, or a splash of soy sauce or balsamic glaze for an umami-rich finish. A sprinkle of everything bagel seasoning can also add a unique, savory crunch.
Troubleshooting Common Green Bean Blunders
Even with the best intentions, things can sometimes go wrong. Here’s how to fix or prevent common issues.Why Are My Beans Soggy?
The most frequent culprits for mushy or soggy green beans are:
- Insufficient drying: Remember, moisture equals steam.
- Overcrowding the baking sheet: This traps steam and prevents proper roasting.
- Not enough oil: Oil helps with even cooking and crisping.
- Too low oven temperature: A hot oven is essential for quick cooking and searing.
Review these steps, and you’ll likely find your solution.
Burnt Ends vs. Perfectly Roasted
Some charring on the tips of your green beans is often desired, as it indicates caramelization and adds to the flavor. However, if they’re consistently burning before the rest are done, consider:
- Stirring more frequently: To ensure even exposure to heat.
- Lowering the temperature slightly: If your oven runs hot.
- Using a lighter-colored baking sheet: Darker pans absorb more heat and can cause faster browning.
Can I Use Frozen Green Beans?
As mentioned, we highly recommend against using frozen green beans if crispiness is your goal. The high water content makes it incredibly challenging to achieve a non-mushy texture. If you must use them, thaw them completely, pat them *excessively* dry, and be prepared for them to take longer to cook and still potentially lack that desired snap.
Storing and Reheating for Continued Enjoyment
Roasted green beans are best enjoyed fresh out of the oven, but leftovers can be delicious too, with the right approach.Keeping Leftovers Fresh
Any leftover roasted green beans can be stored in an airtight container in the refrigerator for 4-5 days. This makes them a fantastic make-ahead side for meal prep.
Best Ways to Reheat Without Losing Crispness
Avoid the microwave if you want to retain any semblance of crispiness, as it tends to steam and soften vegetables. For the best results:
- Oven: Spread the green beans on a baking dish or sheet and reheat at 350°F (175°C) for 5-10 minutes, or until heated through and slightly re-crisped.
- Air Fryer: This is an excellent option for re-crisping! Place them in a single layer in the air fryer basket and cook at 350°F (175°C) for 3-4 minutes, tossing halfway, until hot and crispy.
